How-to
How to Replace Fascia Board With Drip Edge

This article will present you with practical yet simple instructions on how to replace fascia board with drip edge.
Introduction
Everything will be eventually degraded by time. And for something that exposes itself directly to the weather and the environment on the roof such as the fascia boards.
You may have to consider replacing them every once in a while.
To replace the entire damaged fascia boards with drip edge but you really don’t know where to start. And what to get since you are not really a professional in this field.
Read through the information below and you can quickly get the general idea on how to replace fascia board with drip edge.
Fascia board can be said to be an important part of the roof. Its main function is to support the lower edge of the bottom row of the roof tiles.
The roof guttering will be carried mostly by the fascia board as well. In a downpour, several litters of rainwater can be expected to pour down the fascia boards every second.
It’s not that hard to think that the lifetime of the fascia boards won’t be too long. And when it comes to fixing the boards or replacing them entirely, you will need suitable tools and skills.
So first, let take a look at what you need here.
Necessary tools and gears that you should have
About to work on a considerable height with a large gap between you the ground so it’s best that you consider your options well so you can execute this efficiently and safely.
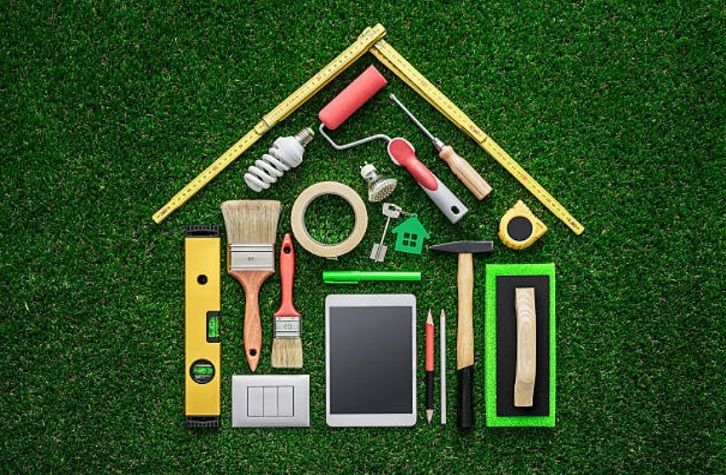
Generally, a ladder or scaffold is needed to provide you with a stable standing. Next are several tools to help you remove the fascia board from the roof and attach the drip edge such as:
A retractable ruler and a marker will also be needed to measure and predict the drip edge location.
Of course, to work safely at this height then you will need protection gears. Helmet, gloves, goggles and face mask are recommended. You may also want to set up several ropes or wires to keep yourself steady at all time.
Before you attempt to do all of this, remember to exam the house warranty to see any terms and conditions mentioned. Anything relates to self – maintenance of the roof.
This may help you a lot of times and efforts plus also avoid the possibility that the warranty may be voided accidentally.
While this is not mandatory, having an extra people or two to help you do this is probably a good idea. They can help transporting the materials up or down, determining if everything is in place in general and menial tasks.
Most of all is you would feel much safer to have someone keep an eye on you, especially when you up there handing the fascia boards dozens of feet off the ground.
The appropriate procedure
•Step 1: Set up the standing
Assemble/deploy the ladder or scaffold just under the fascia boards. Naturally, try your best to select a firm and flat ground so when you are on top, the whole thing won’t wobble around when you move.
You should also plan ahead where you can put all of your tools so you can easily reach them up there but they don’t get in the way of your movements.
Secure the standing with extra ropes and wires as a precaution. Better be safe than sorry.
•Step 2: Remove the fascia board
There is nothing special about this step beyond prying all the fascia boards out. If the boards are already damaged then just force your way in.
The boards are still more or less intact and you intend to reuse it for other need. Then there you should gently remove the nails along the boards edges then swiftly pry it out.
Whatever you do here, remember to take into account of the roof integrity so use just the right amount of force required. If you want to preserve the roof aesthetic value then keep that in mind.
•Step 3: Measure and mark the drip edge position
When the fascia boards are out of the picture, it’s time to take the measurement of the drip edge and diced. If you need to any extra modifications to the roof to suit the edge dimension.
Keep in mind that you must consider the weather factor and the fact that the drip edge may slightly expand under constant heat.
Determine you won’t need to adjust anything, or you have done all the adjustment, use a marker to draw the drip edge shape on the fascia board former location.
•Step 4: Nail in the drip edge and clean up
You are pretty much at the final part now and it’s not hard to do. Simply nail in the drip edge base on the lines that you have drawn earlier. Keep the drip edge as close as possible to the lines to give it a better fitting.
Keep the edge secured such as bolt in the edge and wrap it around with the wire in case the support nails fail to hold it together. Especially in rough or stormy weather.
Now, you are done then your drip edge should be operational . It’s time to pack up everything. For the removed fascia board, you can put it to use in another place, sell it for scrap or outright throw it away if the boards are rotten.
Make the same with any excess or removed materials that you have at that moment.
Conclusion
End of the guide, very simple to follow, right? The process of replacing the boards by the drip edge may seem to be quite difficult at first.
As long as you use the appropriate tools and do exactly what the steps above have said then it’s not that hard at all.
Concentrate yourself the entire time and the drip edge will be installed in the blink of an eye.


